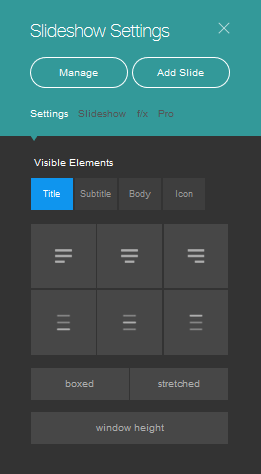
On our left-click menu, the bottom row controls the Stripe settings:

- Pressing the “Section Settings” load the Stripe settings panel.
There are different types of menus for different type of stripes.

As a rule, the menu lets you to change the background, edit the layout, add effects, and play with the general appearance of the stripe. It also lets you add new items, such as slides and text sections.
Click the Manage button to easily remove, duplicate and change the order of the items on the stripe. Simply hover above items to see the available options, then click DONE to save any changes.
- Pressing the up and down arrows will reorder accordingly the location of the stripe on the site.
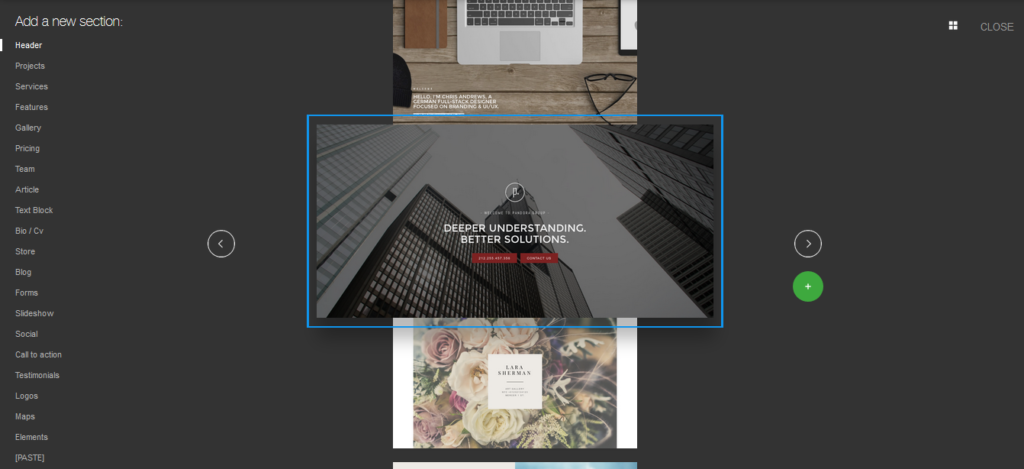
- Pressing the + sign will open the Add A New Stripe interface.
- Pressing the Squares sign will copy the stripe.
To Paste it at the location of your choice:
Click on the + sign and choose Paste (bottom option):

Pressing the Red X sign will remove the stripe.